
📌 Love these? Pin your favorites—it helps us grow!
Creating and maintaining a sourdough bread starter is a rewarding journey that allows you to bake delicious, homemade bread. With just a few simple ingredients and some patience, you can cultivate a starter that will enhance your baking for years to come.
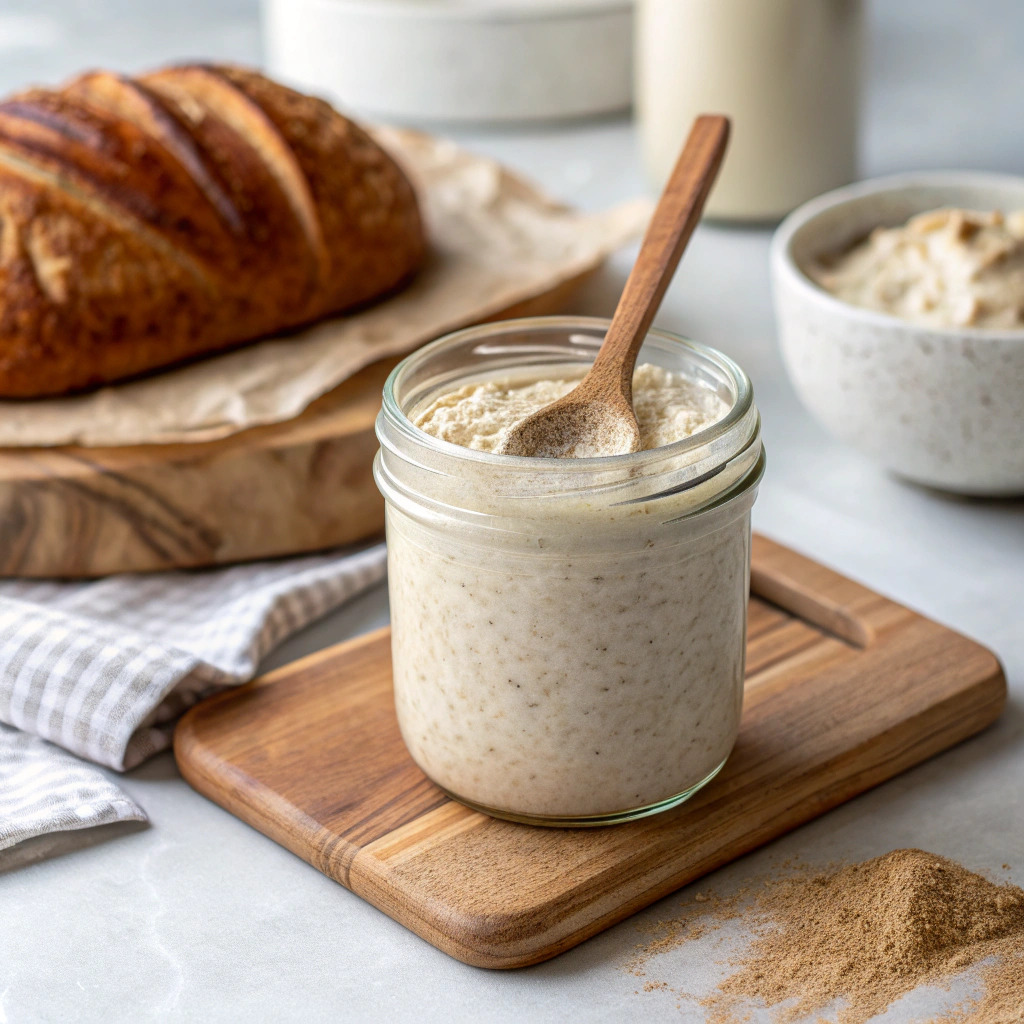
The magic of sourdough bread lies in its unique flavor and texture, which come from a lively culture of wild yeast and bacteria. This recipe will guide you through the process of making and maintaining a sourdough bread starter, ensuring that it is active and ready for baking. A strong starter not only improves the quality of your bread but also brings a sense of satisfaction as you nurture it over time.
Using just flour and water, you will create a living culture that ferments and develops complexity. The process involves feeding the starter regularly and monitoring its activity. Each time you feed it, you are encouraging the wild yeast to grow, which is the key to a successful sourdough. This recipe is special because it connects you to the age-old tradition of sourdough baking, giving you the opportunity to produce loaves with incredible depth of flavor and a delightful chewy crust.
Gather the following equipment to make your sourdough bread starter:
To achieve a successful sourdough bread starter, consider these tips: Use unbleached all-purpose flour for best results, as it contains more natural yeast. Make sure your container is clean to prevent unwanted bacteria from interfering with the fermentation process. Maintain a consistent temperature; ideally, keep the starter in a warm spot around 70-75°F for optimal activity. If you notice any off-smells or mold, it is best to discard the starter and start again. Remember to always wash your hands before handling the starter to prevent contamination. Once your starter develops bubbles and doubles in size after feeding, it is ready to use. Regular feedings are essential; feed your starter every 24 hours if kept at room temperature or every week if stored in the refrigerator.

Store the sourdough starter in the refrigerator if not in use, feeding it at least once a week to maintain its health and activity.
You can experiment with different types of flour to create unique flavors in your sourdough starter. For instance, incorporating whole wheat or rye flour can enhance the starter's flavor profile and increase its activity due to higher nutrient content. Additionally, try using a small amount of fruit puree or honey during the initial feedings to help kickstart fermentation. Keep in mind that these variations may alter the flavor of your final bread, so adjust accordingly based on your preferences.
Once your sourdough bread starter is active and bubbly, it is ready for baking. To use your starter, simply take a portion for your bread recipe and ensure you replace it with fresh flour and water to maintain its strength. You can keep your starter in the fridge when not in use, but remember to feed it regularly and allow it to come to room temperature before baking. Enjoy the process of creating delicious loaves of sourdough bread from your very own starter.
| Problem | Solution |
|---|---|
| My starter is not bubbling or rising. | Ensure you are feeding your starter with the right ratios of flour and water. The starter needs to be in a warm environment to thrive; consider moving it to a warmer spot. Make sure you are using unbleached flour, as bleached flour may slow down fermentation. |
| My starter has a strange smell. | A healthy starter should smell slightly tangy. If it smells off or like rotten, discard it and start anew. Check that your container is clean and that you are practicing good hygiene when handling the starter. |
How long does it take to create a sourdough starter?
It typically takes about five to seven days to develop a strong, active sourdough starter.
Can I use tap water for my starter?
It's best to use filtered or dechlorinated water, as chlorine can inhibit yeast growth.
