
📌 Love these? Pin your favorites—it helps us grow!
Baking rustic bread at home fills your kitchen with warmth and the irresistible aroma of freshly baked goods. This artisan loaf is not only beautiful with its crusty exterior and soft, chewy interior, but it's also incredibly satisfying to make from scratch.
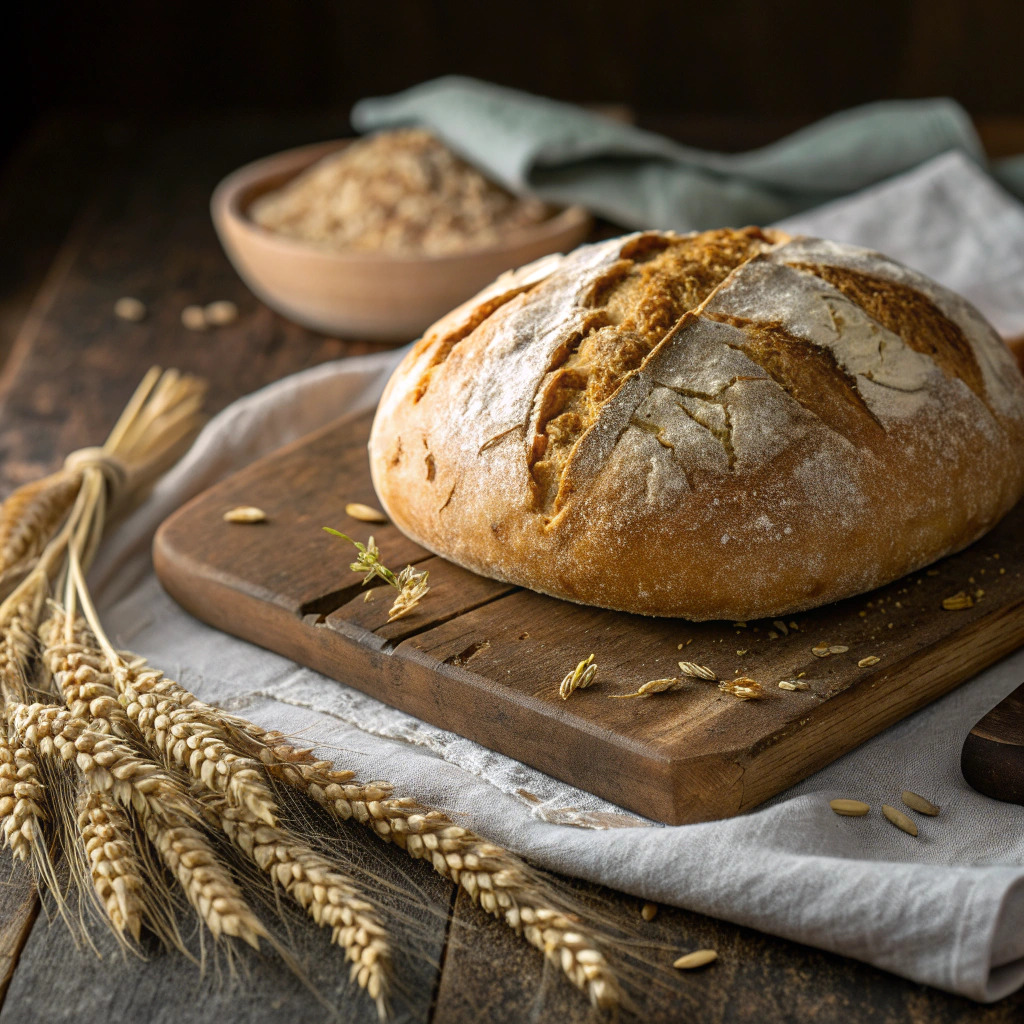
Creating a perfect rustic bread is an art that combines simple ingredients with patience and technique. This recipe highlights the beauty of bread-making, allowing the flavors to develop through a long fermentation process. Using just flour, water, salt, and yeast, you can craft a loaf that embodies the essence of artisan baking.
The texture of this bread is what sets it apart. The crust is thick and golden, while the inside is filled with airy pockets that offer a delightful chew. Whether served alongside a warm bowl of soup or enjoyed with a smear of butter, this rustic bread elevates any meal. The best part is that it requires minimal hands-on time, allowing for a leisurely day of baking that culminates in a delicious homemade loaf.
To make rustic bread, you'll need a few essential tools that facilitate the baking process.
When making rustic bread, attention to detail can make a significant difference. Start by ensuring all your ingredients are at room temperature to promote proper fermentation. When mixing the dough, avoid overworking it; instead, use a gentle folding technique to develop gluten without deflating the dough. It’s also important to allow the dough to rest adequately during the fermentation process; this enhances flavor and texture.
Always keep food safety in mind. Make sure to wash your hands before handling ingredients and clean all surfaces thoroughly. If you're using a kitchen scale, ensure it’s clean before measuring flour or other ingredients. Properly store any leftover bread in a paper bag at room temperature to maintain its crusty texture. If you find the crust too hard for your liking, consider wrapping the bread in a cloth after it cools to soften it slightly.

Store leftover bread in a paper bag at room temperature for up to three days. For longer storage, wrap tightly in plastic wrap and freeze for up to three months.
There are countless ways to experiment with rustic bread to suit your taste. For a flavor twist, consider adding ingredients such as chopped herbs, olives, or sun-dried tomatoes into the dough during the mixing stage. You can also incorporate whole grains by substituting part of the all-purpose flour with whole wheat flour or rye. If you prefer a sweeter touch, mix in some honey or malt syrup for a subtle sweetness. Additionally, trying different types of yeast, such as sourdough starter, can bring a unique flavor profile to your rustic bread. Each variation can transform your loaf into a new experience.
Rustic bread is incredibly versatile and can be served in many delightful ways. Enjoy it fresh out of the oven with a smear of butter or olive oil for a simple yet satisfying treat. Pair it with a hearty soup or stew, allowing the bread to soak up the delicious broth. Slices make excellent bases for bruschetta or open-faced sandwiches topped with your favorite ingredients. For a special brunch, serve it with a selection of cheeses and charcuterie. No matter how you choose to serve it, this rustic bread will be a crowd-pleaser.
| Problem | Solution |
|---|---|
| My bread did not rise properly. | Ensure that your yeast is fresh and active. If you're using active dry yeast, make sure to proof it in warm water with a bit of sugar before adding it to the dough. Also, the environment temperature can affect rising; a warmer room is ideal for fermentation. |
| The crust of my bread is too hard. | Consider adjusting the baking time or temperature. If the crust is too thick, try covering the bread with aluminum foil during the last portion of baking to soften it. |
| My bread has a dense texture. | This can be a result of under-kneading or not allowing the dough to ferment long enough. Ensure you knead the dough adequately to develop gluten and give it enough time to rise. |
Can I use whole wheat flour instead of all-purpose flour?
Yes, you can substitute part of the all-purpose flour with whole wheat flour for a heartier texture.
How can I tell if my bread is done baking?
The bread should be golden brown on the outside and sound hollow when tapped on the bottom.
What if my dough is too sticky?
You can add a little more flour during kneading, but be careful not to add too much, as it can affect the texture.
