
📌 Love these? Pin your favorites—it helps us grow!
Apple butter is a delightful spread that captures the essence of autumn in every jar. Its rich, sweet, and spiced flavor makes it a perfect accompaniment to toast, pancakes, or as a filling for pastries. This recipe will guide you through creating your own homemade apple butter, bringing warmth and comfort to your kitchen.
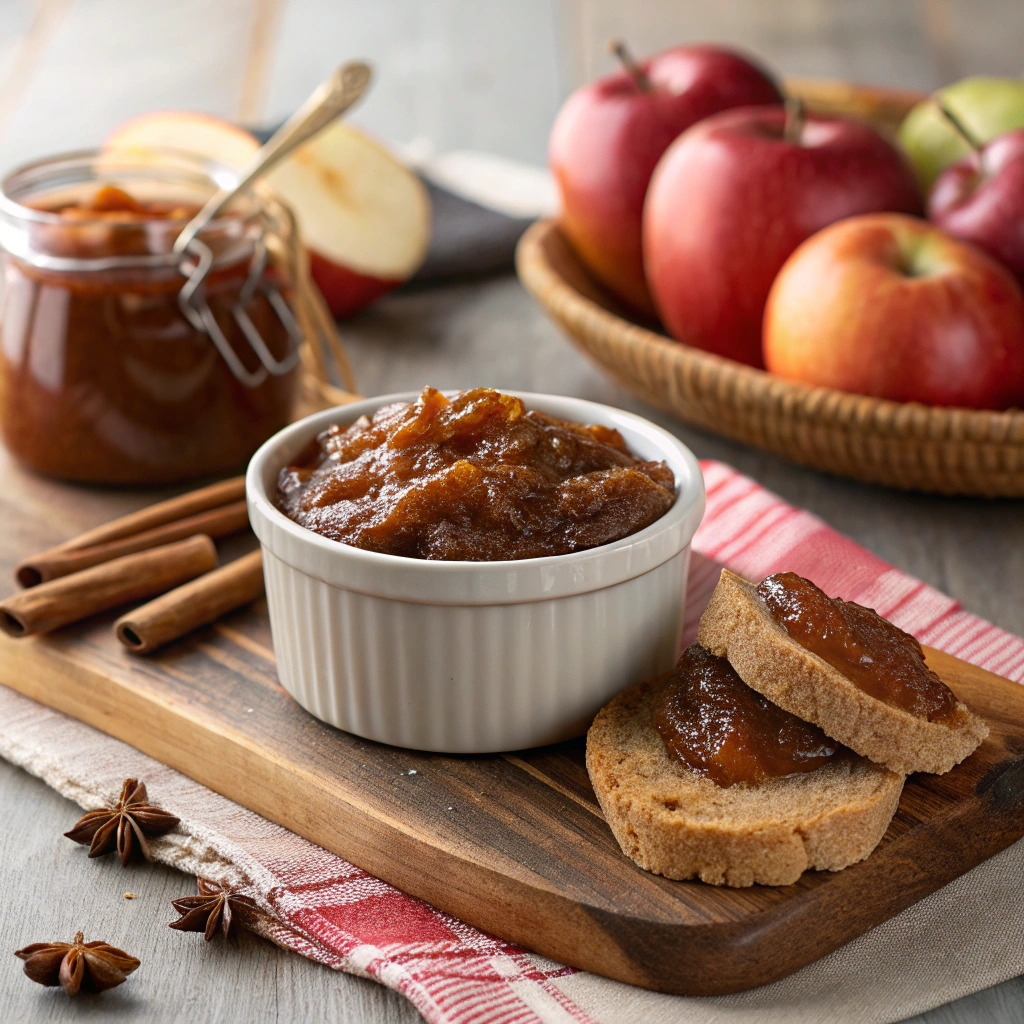
This apple butter recipe stands out because it transforms simple apples into a luscious, velvety spread that’s bursting with flavor. The slow-cooking method allows the natural sugars in the apples to caramelize, while the warm spices create a comforting aroma that fills your home. Apple butter is not just a condiment; it’s a celebration of the fall season, making it a favorite for many. The versatility of this spread means you can enjoy it on breakfast items, pair it with meats, or even gift it in jars for friends and family. Plus, making your own apple butter allows you to control the sweetness and spice levels to match your personal taste. Whether you’re using tart Granny Smiths or sweet Honeycrisps, this recipe ensures a delightful outcome every time.
Apple butter can be enjoyed fresh, but it also preserves well, so you can make a big batch to savor throughout the year. The process may take some time, but the end result is worth every minute spent in the kitchen. Let’s dive into the equipment and ingredients you will need to create this delightful fall treat.
To make apple butter, you will need the following essential equipment.
When making apple butter, consider these helpful tips to enhance your experience. Choose a mix of sweet and tart apples for a well-rounded flavor profile. Wash the apples thoroughly and peel them if you prefer a smoother texture. Be mindful of food safety by ensuring all equipment is clean and sterilized before use. As the mixture cooks down, keep an eye on the consistency to avoid burning. If you notice the mixture sticking to the bottom, reduce the heat and stir more frequently. Remember that apple butter will thicken as it cools, so don’t worry if it seems a bit runny while cooking. Always check the internal temperature of the apple butter, especially if you are canning it, to ensure it reaches at least 185°F for safe preservation. Lastly, feel free to adjust spices according to your taste, adding more cinnamon or nutmeg if desired.

Store apple butter in sealed jars in the refrigerator for up to three weeks. For longer storage, process jars in a water bath canner for 10 minutes.
There are countless ways to put a unique twist on traditional apple butter. For a spicy kick, consider adding a pinch of cayenne pepper or ginger during the cooking process. You can also incorporate other fruits like pears or cranberries for added depth and flavor. Experiment with different spices, such as cardamom or allspice, to customize the taste to your liking. If you prefer a sweeter apple butter, consider adding a touch of maple syrup or brown sugar. For a more rustic version, leave some apple chunks in the mix instead of pureeing it entirely. Each variation allows you to create a distinctly flavored apple butter that reflects your personal palate.
Apple butter is best served warm or at room temperature. Spread it generously on warm biscuits, toast, or pancakes for a comforting breakfast. It can also be used as a filling for pastries or drizzled over cream cheese for a delightful appetizer. Consider pairing it with savory dishes, such as roasted pork or brie cheese, to balance the flavors. For gifting, pack the apple butter in decorative jars and label them with the date and any special ingredients used. This will not only impress your friends and family but also give them a taste of homemade warmth.
| Problem | Solution |
|---|---|
| The apple butter is too thin. | If your apple butter hasn’t thickened to your liking, continue cooking it uncovered on low heat, stirring occasionally until the desired consistency is reached. This will allow excess moisture to evaporate. |
| The flavor is too sweet. | To counteract excessive sweetness, add a splash of lemon juice or a pinch of salt. Both will help balance the flavors and enhance the overall taste. |
| The apple butter burned on the bottom of the pot. | If you notice burning, reduce the heat and stir more frequently. If the burnt taste has permeated the mixture, you may need to transfer the unburned portion to a new pot and continue cooking it gently. |
| The apple butter is too spicy. | If the spice level is too intense, add more cooked apples to dilute the spice flavor without losing the apple essence. This will mellow out the overall taste. |
| The jar didn’t seal properly during canning. | If jars do not seal, reprocess them immediately or store the apple butter in the refrigerator and consume it within a few weeks. |
Can I use any type of apple for this recipe?
Yes, a mix of sweet and tart apples creates the best flavor.
How long will homemade apple butter last?
Homemade apple butter can last up to three weeks in the refrigerator.
Can I freeze apple butter?
Yes, apple butter freezes well in airtight containers for up to a year.
Do I need to peel the apples?
Peeling is optional; leaving the skins on can provide added texture and flavor.
What can I use apple butter for besides spreading?
Apple butter can be used in baking, as a glaze for meats, or mixed into oatmeal.
