
📌 Love these? Pin your favorites—it helps us grow!
Indulge in the delightful combination of buttery crust, creamy filling, and vibrant fruits with this fruit tart recipe. It's a perfect dessert for any occasion, bringing a burst of freshness and sweetness to your table.
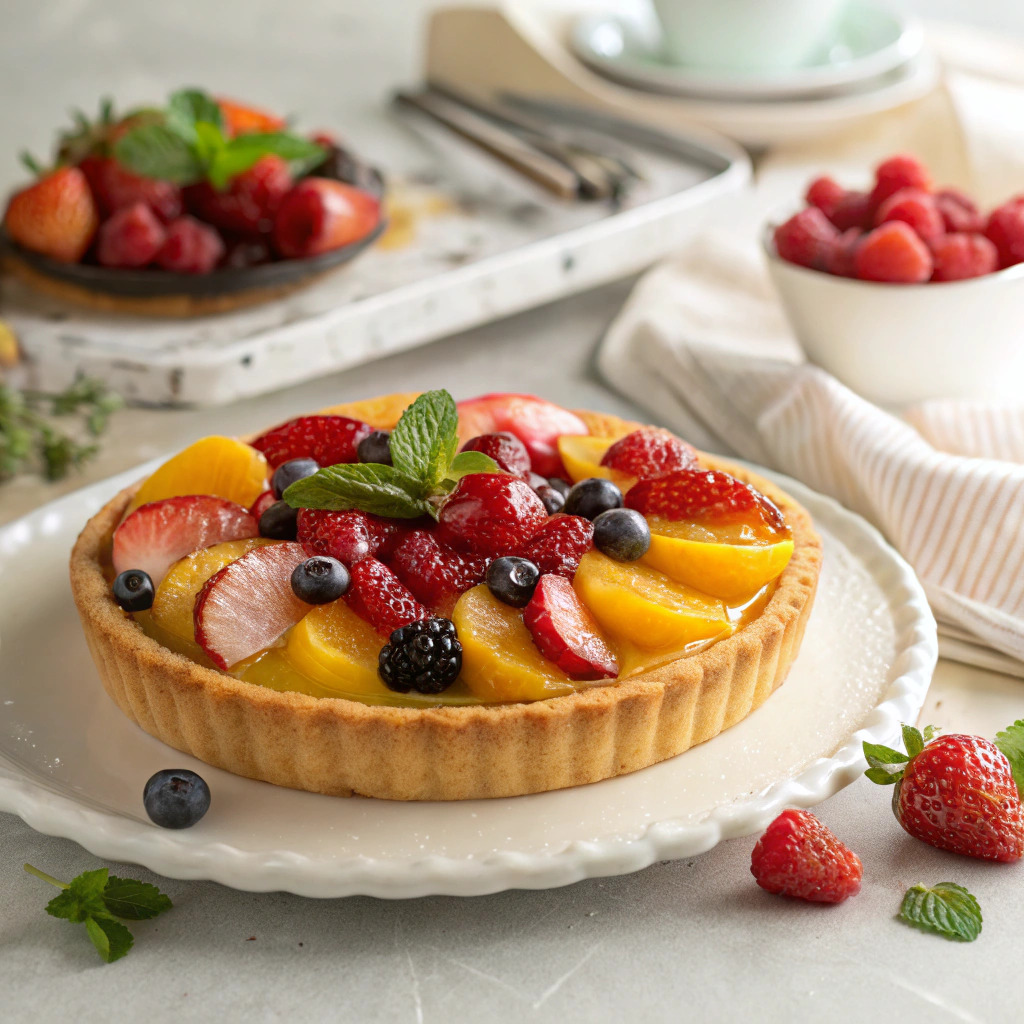
This fruit tart recipe is a true celebration of seasonal fruits, encased in a rich, buttery crust and layered with a luscious pastry cream. The contrast between the crisp crust, the silky filling, and the juicy fruits creates a heavenly experience for your taste buds. Whether it’s a summer gathering, a festive celebration, or just a sweet treat to enjoy at home, this dessert is sure to impress. The versatility of the fruits allows you to customize it based on what is in season or your personal favorites. Each bite is a delightful reminder of the beauty of simple ingredients coming together to create something extraordinary. With a few careful steps, you can master this classic dessert that looks as stunning as it tastes.
To create this fruit tart, you will need a few essential tools.
When making a fruit tart, ensure to handle the ingredients with care to prevent cross-contamination. Keep the work area clean, and wash your hands before and after handling food. Chill the crust thoroughly before baking to prevent shrinkage. Use fresh, ripe fruits for the best flavor and presentation. If using berries, give them a gentle rinse and pat dry to avoid excess moisture. Allow the tart to set in the fridge for at least an hour before serving to enhance the flavors and texture. For safety, always ensure that any cream filling is stored properly and consumed within a few days. Keep the tart refrigerated until ready to serve.

Store any leftover tart in the refrigerator, covered with plastic wrap, for up to three days.
There are numerous ways to customize this fruit tart to suit your preferences. You can substitute the traditional pastry cream with whipped cream or a yogurt-based filling for a lighter option. Experiment with different fruits such as kiwi, peaches, or even citrus segments for a unique twist. For added texture, consider incorporating a layer of chocolate ganache beneath the fruit or drizzling a fruit glaze over the top for a beautiful shine. You can also create mini tarts using tartlet pans for individual portions, making them perfect for parties or gatherings.
To serve the fruit tart, carefully remove it from the tart pan and place it on a serving platter. Slice the tart into wedges using a sharp knife, wiping the blade between cuts for clean edges. Garnish with a mint leaf or a sprinkle of powdered sugar for an elegant touch. This dessert pairs beautifully with a scoop of vanilla ice cream or a dollop of whipped cream. Enjoy it chilled for a refreshing treat that highlights the vibrant flavors of the fruit.
| Problem | Solution |
|---|---|
| The tart crust shrunk during baking. | Make sure to chill the crust before baking, and avoid stretching it while placing it in the pan. Press it gently to fit without stretching. |
| The filling is too runny. | Ensure you cook the pastry cream until it thickens properly. If using fresh fruit, pat them dry to reduce moisture. |
| The fruit has released too much juice. | Serve the tart soon after assembling to prevent the crust from becoming soggy. Use a glaze to protect the fruit and keep excess juice from seeping into the crust. |
| The tart is difficult to slice. | Use a sharp knife and dip it in hot water, wiping it clean between cuts to achieve clean slices without damaging the crust. |
Can I use frozen fruits for this tart?
Yes, but be aware that thawed fruits may release more moisture.
How can I make the crust from scratch?
You can use a simple recipe with flour, butter, sugar, and a pinch of salt.
Can the tart be made a day in advance?
Yes, but assemble it the day you plan to serve for the best texture.
What fruits work best for decorating?
Berries, kiwi, and stone fruits are excellent choices for color and flavor.
