
📌 Love these? Pin your favorites—it helps us grow!
Indulging in homemade Oreos brings back nostalgic memories of childhood. These rich and chocolatey treats are not only easy to make but also perfect for sharing with friends and family. With a creamy filling sandwiched between two decadent chocolate cookies, these cookies are sure to satisfy any sweet tooth.
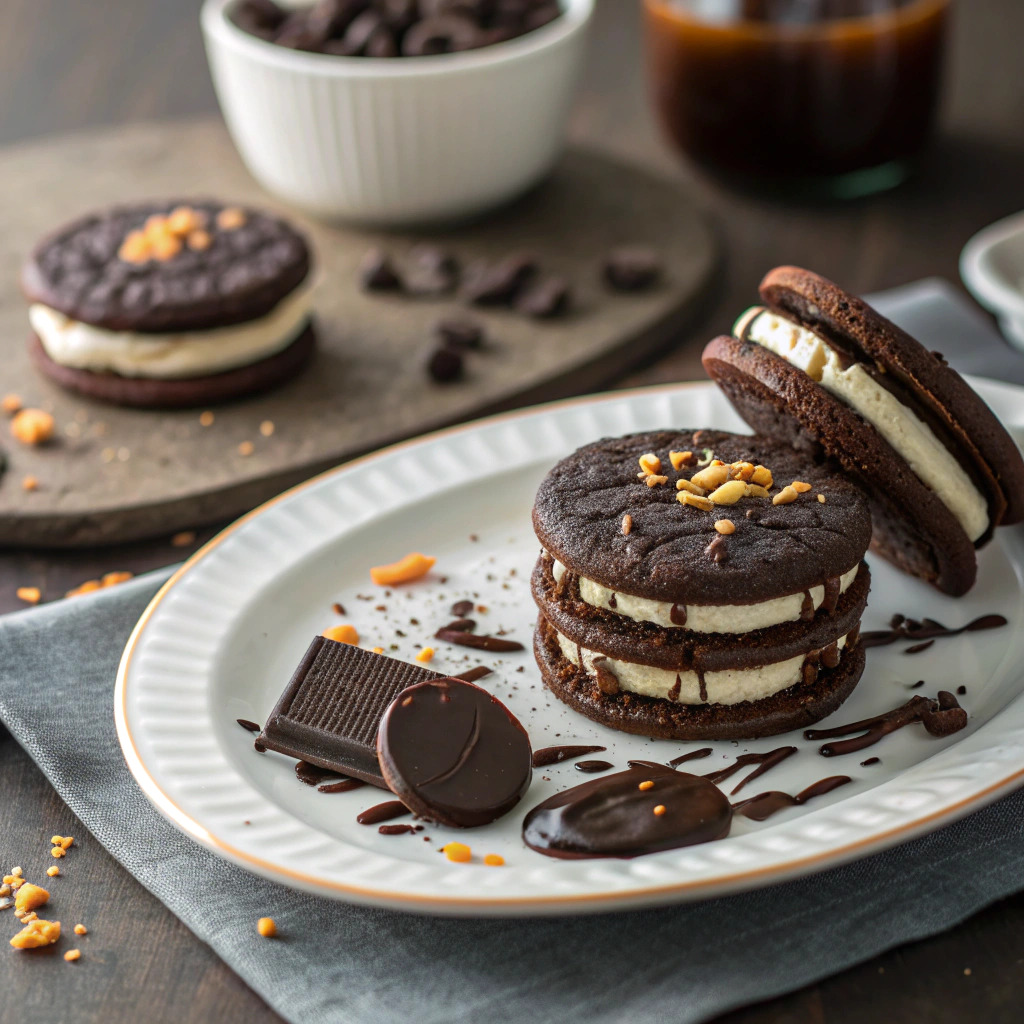
Creating homemade Oreos allows you to enjoy a beloved classic with a personal touch. The deep chocolate flavor of the cookies, perfectly complemented by a sweet, creamy filling, makes for a delightful experience. This recipe is special because it combines simple ingredients to create an irresistible treat that can be enjoyed at any occasion. Homemade cookies offer a freshness that store-bought versions cannot match. Plus, making them from scratch gives you control over the ingredients, allowing you to customize flavors or even use organic alternatives. The joy of baking is enhanced when you share these cookies with loved ones, making them perfect for gatherings or as a special treat for yourself.
The process is straightforward, and while they might take a little time, the end result is more than worth it. You can even involve children in the fun, making it a family activity. Once you taste the rich chocolate and smooth filling, you’ll understand why these homemade Oreos are a favorite for so many.
To make these homemade Oreos, gather the necessary equipment to ensure a smooth baking process.
For the best results, make sure all ingredients are at room temperature before starting. This helps in achieving a smooth batter. When mixing the dough, avoid over-mixing to ensure the cookies remain tender. Use a small cookie scoop or two spoons to ensure even size for the cookies, which helps them bake uniformly. Always preheat your oven to ensure the cookies bake properly. For food safety, ensure that all equipment is clean and dry to avoid contamination. After baking, allow the cookies to cool completely before adding the filling. This prevents the filling from melting and sliding off. Store the finished cookies in an airtight container to maintain freshness, and consume them within a week for the best taste.

Store in an airtight container at room temperature for up to one week.
There are several ways to customize your homemade Oreos. For a fun twist, try adding peppermint extract to the filling for a seasonal flavor. You can also experiment with different types of chocolate, such as dark chocolate or even white chocolate for the filling. For a gluten-free option, substitute regular flour with almond or gluten-free flour, adjusting the quantity as needed. Additionally, consider adding sprinkles or crushed candy on the filling for a festive look. These variations not only add unique flavors but also make your homemade Oreos visually appealing.
Serve your homemade Oreos on a decorative platter for a beautiful presentation. They are delightful on their own or paired with a glass of cold milk for a classic touch. These cookies also make excellent gifts; simply package them in a decorative box tied with a ribbon. For gatherings, they can be served alongside other treats for a dessert table that everyone will enjoy. Sharing these cookies is sure to bring smiles and create lasting memories.
| Problem | Solution |
|---|---|
| Cookies are too dry. | Ensure not to over-bake the cookies, as they can become dry. Keep an eye on them and remove them from the oven once the edges are set but the centers still look slightly soft. |
| Filling is too runny. | If the filling is too runny, consider adding more powdered sugar until the desired thickness is achieved. This will help in creating a more stable filling that holds between the cookies. |
| Cookies spread too much during baking. | Make sure to chill the dough for about 30 minutes before baking. This will help the cookies maintain their shape while baking. |
| The cookies are too hard. | Be cautious with mixing time and baking time. Over-mixing can lead to a tougher texture, and over-baking can cause hardness. |
| Cookies are sticking to the baking sheet. | Always line your baking sheet with parchment paper to prevent sticking and ensure easy removal once baked. |
Can I use gluten-free flour?
Yes, you can substitute regular flour with gluten-free flour.
How long can I store these cookies?
They can be stored in an airtight container at room temperature for up to one week.
Can I freeze these cookies?
Yes, you can freeze the cookies without the filling for up to three months.
What can I use instead of heavy cream?
You can use milk or a dairy-free cream alternative if needed.
Can I use less sugar in the filling?
Yes, you can adjust the sugar to your taste, but it may affect the texture.
