
📌 Love these? Pin your favorites—it helps us grow!
Making bread at home is a rewarding experience that fills your kitchen with warmth and delightful aromas. Whether you're a novice or looking to refine your skills, this guide will take you through the steps to create a delicious loaf from scratch.
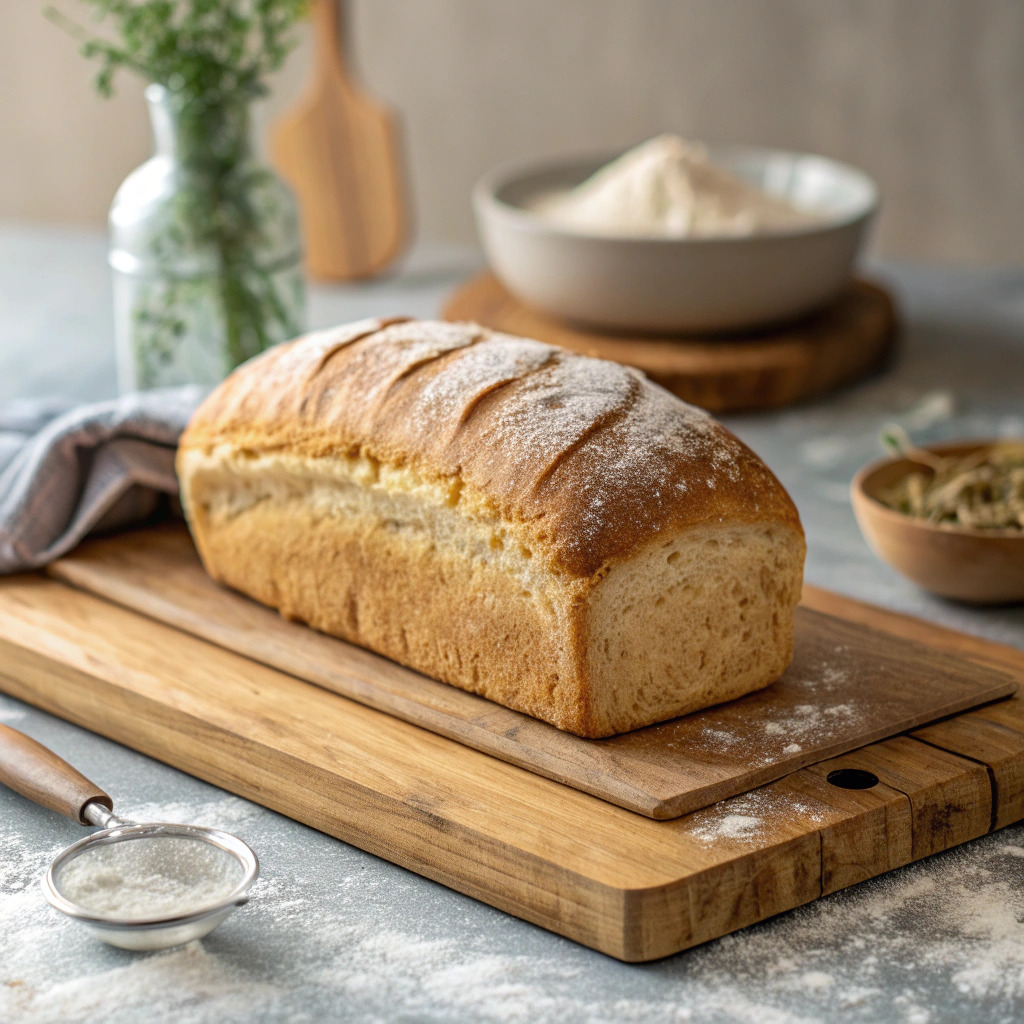
Learning how to make bread at home is not just about baking; it's about creating something from simple ingredients that brings comfort and joy. Bread has been a staple in diets around the world for centuries, and by making it yourself, you can customize flavors and textures to suit your taste. This recipe is designed for beginners, providing clear instructions to ensure your success from the first rise to the final bake.
The beauty of homemade bread lies in its versatility. You can experiment with different types of flour, add herbs or seeds, or even incorporate whole grains for added nutrition. Each loaf tells a story, and with practice, you'll find your rhythm and develop your own unique recipes. The satisfaction of slicing into a warm loaf, still slightly steaming, is unmatched, making the effort well worth it.
To embark on your bread
Mastering the art of bread-making requires attention to detail and some patience. Always measure your ingredients accurately, as even slight variations can affect the outcome. When mixing the dough, ensure it becomes smooth and elastic; this indicates that gluten is developing, which is crucial for a good rise. Knead the dough thoroughly for about ten minutes, either by hand or using a stand mixer.
Safety is also important. Ensure your workspace and equipment are clean to prevent contamination. Allow the dough to rise in a warm, draft-free environment for the best results. If you’re unsure about the bread’s doneness, use an instant-read thermometer; the internal temperature should reach 190°F. Once baked, let the bread cool completely before slicing to maintain its structure.

Store leftover bread in an airtight container at room temperature for up to three days or freeze for up to three months.
Once you're comfortable with the basic recipe, you can explore various variations to expand your bread-making skills. Consider adding herbs like rosemary or thyme for a savory touch, or mix in seeds such as sunflower or sesame for added crunch. For a sweeter loaf, try incorporating dried fruits like cranberries or nuts like walnuts. Experimenting with different types of flour can also yield unique results; for instance, whole wheat flour adds a nutty flavor and denser texture, while bread flour contributes to a chewier crumb. Each variation teaches you something new about the process and helps you refine your technique.
Homemade bread is best enjoyed fresh, but it can also be paired with various spreads to elevate your experience. Serve slices with butter, jam, or honey for a simple treat. For a more substantial meal, use the bread to create sandwiches filled with your favorite ingredients. Toasting slices brings out a delightful crunch and can be topped with avocado or eggs for a hearty breakfast. Sharing your homemade bread with friends and family can also create memorable moments, making it a perfect centerpiece for gatherings.
| Problem | Solution |
|---|---|
| The bread didn't rise properly. | This could be due to expired yeast or not allowing the dough to rise in a warm enough environment. Ensure your yeast is fresh and consider placing the dough in a slightly warm area to help it rise. |
| The bread is too dense. | This often happens if the dough was not kneaded enough or if too much flour was added during the mixing process. Make sure to knead until the dough is elastic and smooth, and be cautious with flour measurements. |
| The crust is too hard. | A hard crust can result from baking at too high a temperature or for too long. Adjust your oven temperature and check the bread a few minutes before the suggested baking time to prevent over-baking. |
Can I use whole wheat flour instead of all-purpose flour?
Yes, you can substitute whole wheat flour, but you may need to adjust the liquid content as whole wheat flour absorbs more moisture.
How can I tell if my bread is done baking?
The bread should be golden brown on top, and you can also tap the bottom; it should sound hollow when fully baked.
What should I do if my dough is too sticky?
If your dough is too sticky, gradually add more flour, a tablespoon at a time, until it reaches a manageable consistency.
