
📌 Love these? Pin your favorites—it helps us grow!
Creating kawaii desserts at home is a delightful way to impress friends and family with your creativity. These adorable treats not only look enchanting but also taste amazing, making them perfect for any occasion.
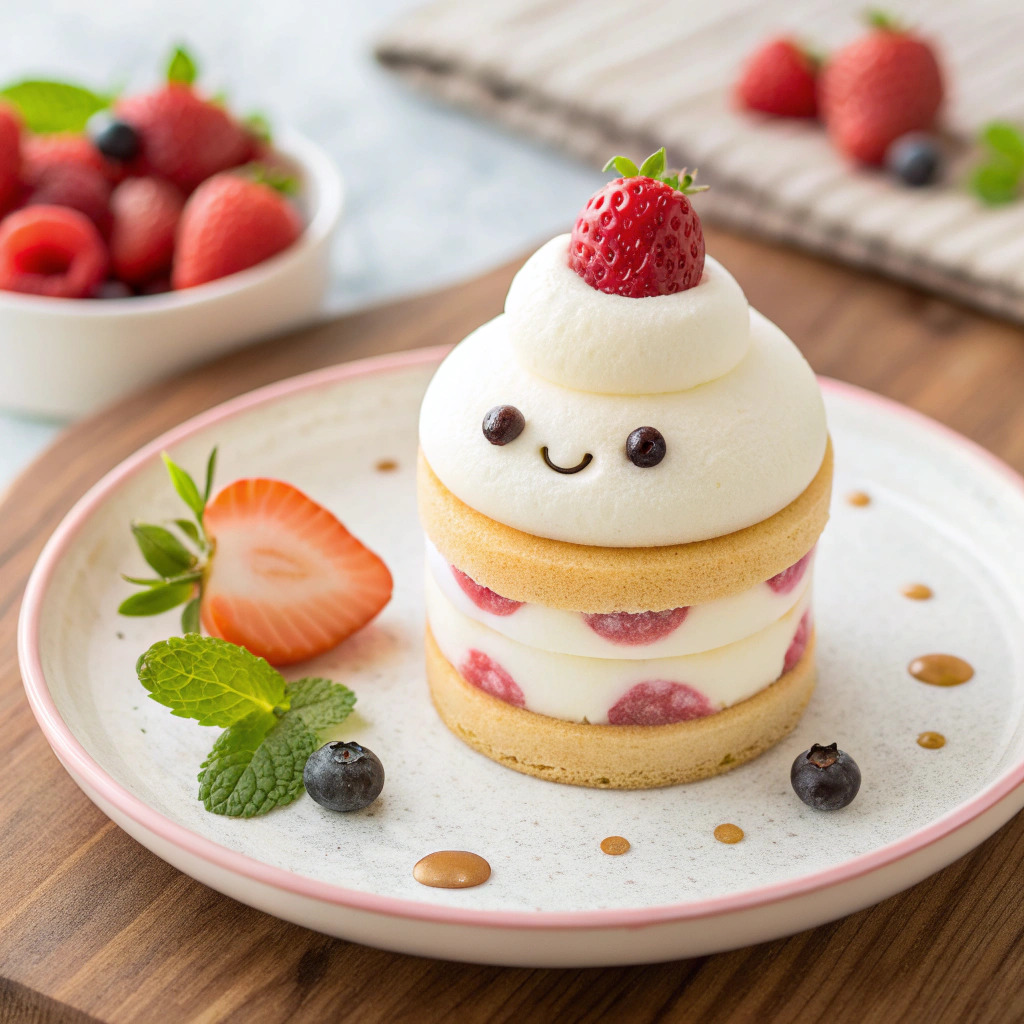
Kawaii desserts are not just food; they are a form of art that brings joy and whimsy to dining. This recipe focuses on crafting charming little cake pops decorated to resemble cute animals or characters. The playful nature of these treats can brighten up any celebration, from birthdays to casual get-togethers. What makes this recipe special is its versatility; you can customize the flavors and decorations to suit personal tastes or themes. The combination of moist cake and smooth chocolate coating creates a delightful contrast that is hard to resist. Plus, making these cake pops is a fun activity that can involve friends or family, making it an ideal bonding experience. The satisfaction of creating something so cute and tasty is truly rewarding.
To make kawaii cake pops, gather the following equipment:
When making kawaii cake pops, ensure your cake is completely cooled before crumbling it to avoid melting the coating. Use good quality chocolate for coating, as it melts smoothly for easier application. For food safety, always wash your hands before handling food and keep raw ingredients separate from finished products. If you’re using cake mix, ensure it is cooked thoroughly and reaches a safe internal temperature. After shaping your cake pops, refrigerate them for about 30 minutes to help them hold their shape when dipped in chocolate. If the chocolate is too thick, add a bit of shortening to achieve the right consistency. Lastly, feel free to get creative with decorations; edible glitter, sprinkles, and colored chocolate can enhance the visual appeal.

Store leftover cake pops in an airtight container in the refrigerator for up to one week.
There are many fun variations to explore when making kawaii desserts. Instead of traditional cake, consider using brownie or cookie dough for a different flavor and texture. You can also experiment with different flavorings in your cake batter, such as vanilla, chocolate, or even matcha. For a seasonal twist, incorporate themed decorations such as pumpkins for Halloween or hearts for Valentine’s Day. Additionally, you can create kawaii desserts in various shapes, such as hearts or stars, using cookie cutters. The possibilities are endless, making each batch a unique creation.
Present your kawaii cake pops on a decorative platter or in a floral arrangement for a charming display. These treats can be served at room temperature, making them great for parties and gatherings. Pair them with a fun beverage like fruit punch or bubble tea to complete the experience. Consider wrapping individual pops in clear cellophane for a cute party favor that guests can take home. Their adorable appearance makes them a fantastic centerpiece for dessert tables, sure to delight everyone who sees them.
| Problem | Solution |
|---|---|
| The chocolate coating is not sticking to the cake pops. | Ensure that the cake pops are chilled before dipping them into chocolate, as this helps the coating adhere better. You can also try dipping the end of the stick into the chocolate before inserting it into the cake pop to create a better bond. |
| The cake pops are falling off the sticks. | This could be due to the cake being too moist or the pops not being chilled enough. Ensure the cake is crumbled well and mixed with enough frosting to hold its shape. Refrigerating the pops before dipping can also help prevent them from sliding off. |
| The decoration is melting or smudging. | Make sure the chocolate coating is set before attempting to add decorations. If using wet icing or chocolate, allow a moment for it to cool slightly before applying to prevent melting. |
Can I use gluten-free cake mix for this recipe?
Yes, gluten-free cake mix works perfectly for making kawaii cake pops.
How do I prevent the cake pops from cracking?
Make sure the cake pops are chilled before dipping and avoid overworking the chocolate.
What can I use instead of chocolate melts?
You can use tempered chocolate or candy coating for similar results.
Can I freeze the cake pops?
Yes, you can freeze them; just ensure they are well wrapped to prevent freezer burn.
What decorations can I use for different themes?
Use seasonal sprinkles, colored chocolate, or themed edible decorations to match your event.
