
📌 Love these? Pin your favorites—it helps us grow!
Indulging in a homemade version of the classic Oreo cookies is a delightful experience that combines rich chocolate flavors with a creamy filling. Making these cookies from scratch not only elevates their taste but also allows for customization, making them even more special.
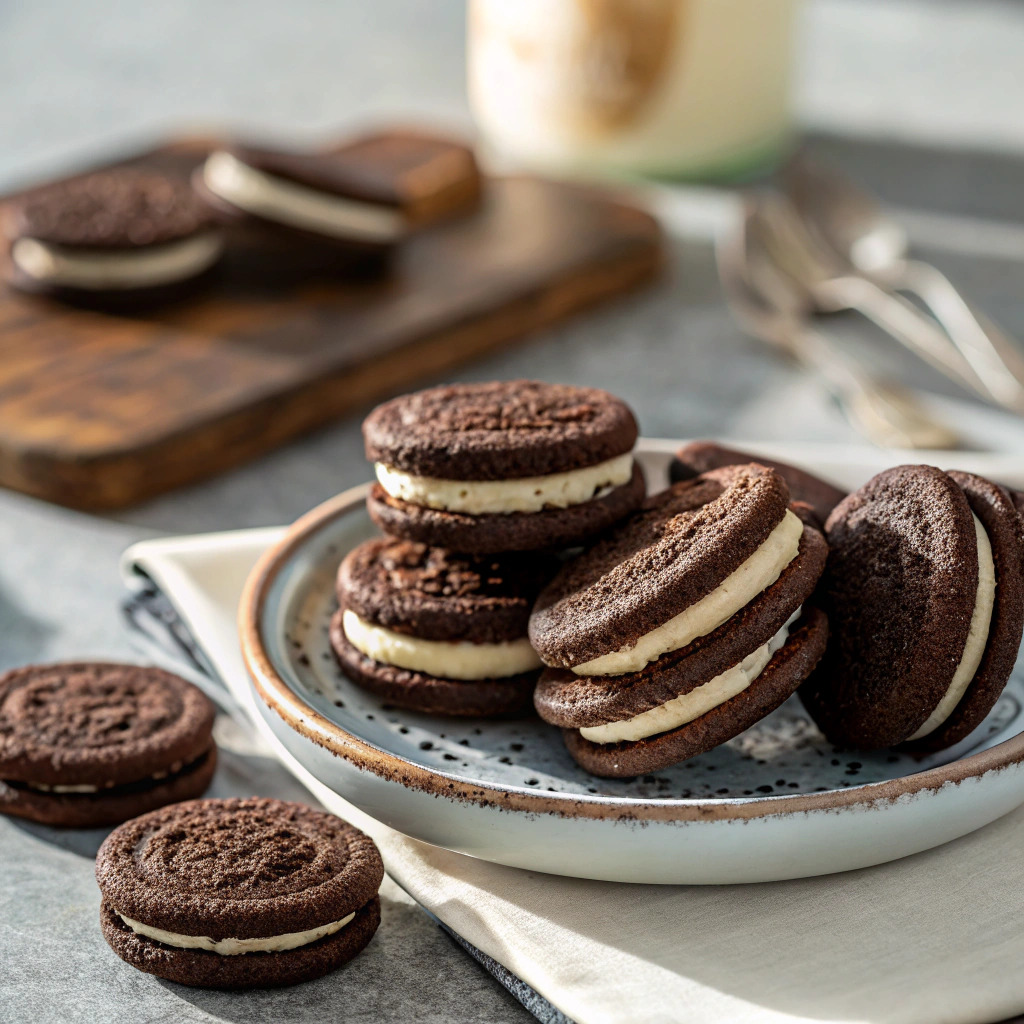
This recipe brings the beloved Oreo cookies into your kitchen, providing a chance to create a treat that is perfect for any occasion. There’s something incredibly satisfying about baking your own cookies, especially when they are as iconic as Oreos. The homemade version retains the essence of the store-bought classic while allowing for personal touches. The crunchy chocolate cookies paired with a sweet, creamy filling are sure to impress family and friends alike. Furthermore, making them at home means you can adjust the sweetness and even incorporate flavors that suit your palate. The joy of crafting these cookies is not just in the eating, but in the process itself, where you can engage in a fun baking adventure. Enjoy the nostalgia while savoring the fresh taste of these classic treats.
To create these delightful Oreo cookies, you will need a few essential tools.
When making Oreo cookies, keep a few tips in mind for the best results. First, ensure that all your ingredients are at room temperature for easier mixing and better texture. Use high-quality cocoa powder to enhance the chocolate flavor in the cookies. Be careful not to overmix the dough; this can lead to tough cookies. For the filling, you can experiment with flavors like vanilla or mint to create a unique twist. Always check the internal temperature of the cookies; they should not be raw in the center. Food safety is crucial; ensure to wash your hands and all utensils after handling raw ingredients. Allow the cookies to cool completely before filling them to prevent the filling from melting.

Store cookies in an airtight container at room temperature for up to a week.
There are countless ways to customize your Oreo cookies to suit your taste. For a fun twist, try adding crushed nuts or chocolate chips to the cookie dough for extra texture. You can also experiment with different flavored fillings, such as peanut butter or white chocolate, for a unique take on the classic. If you prefer a less sweet option, consider reducing the sugar in the filling. For a seasonal treat, add a touch of peppermint extract during the holiday season. Each variation allows you to create a personalized version of these cookies that can be enjoyed by everyone.
Serve your homemade Oreo cookies on a decorative plate to impress your guests. They pair wonderfully with a glass of cold milk, enhancing the nostalgic experience of enjoying Oreos. These cookies are perfect for parties, after-school snacks, or as a sweet treat to share with loved ones. Consider packaging them in a decorative box as a thoughtful gift for friends or family. Enjoy them fresh, or store them for later to satisfy any sweet cravings.
| Problem | Solution |
|---|---|
| Cookies spread too much during baking. | Ensure that the dough is chilled for at least an hour before baking. This will help them maintain their shape. |
| Cookies are too dry. | Check the flour measurement and avoid overbaking. Each oven is different; keep an eye on the baking time. |
| Filling is too runny. | Use softened butter instead of melted butter for a thicker consistency. |
| Cookies crumble when sandwiched. | Allow the cookies to cool completely before adding the filling, as warm cookies can become fragile. |
Can I use gluten-free flour for this recipe?
Yes, you can substitute with a gluten-free flour blend.
How long will these cookies stay fresh?
They can be stored in an airtight container for up to a week.
Can I freeze these cookies?
Yes, they freeze well. Just ensure they are in a suitable container.
What can I use instead of butter in the filling?
You can use margarine or a dairy-free spread as an alternative.
