
📌 Love these? Pin your favorites—it helps us grow!
These teddy bear cookies are not only adorable but also irresistibly delicious. Perfect for parties or a fun baking day with kids, they bring a smile to anyone's face.
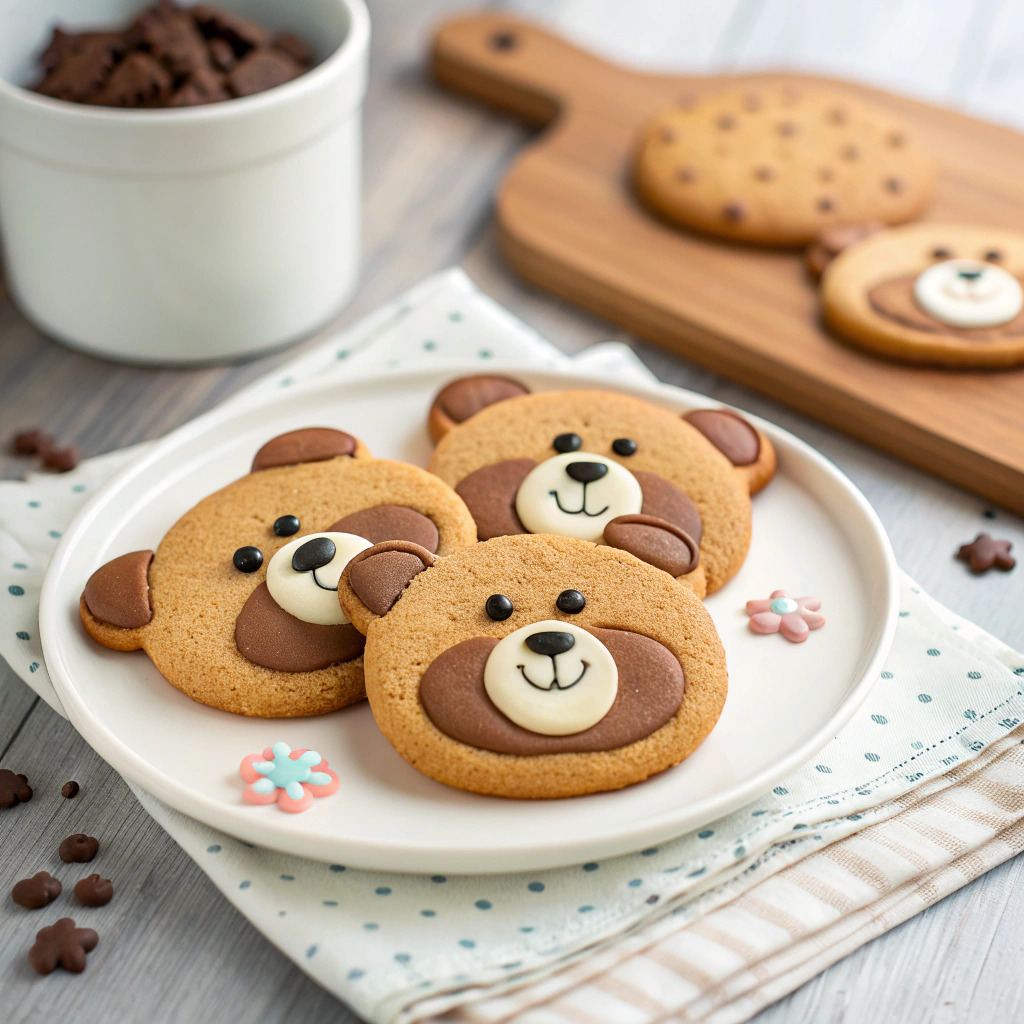
Teddy bear cookies are a delightful treat that combines the joy of baking with creativity. The cute bear shape and charming features make them a favorite among both children and adults. This recipe stands out because it allows for personalization; you can decorate the bears with different colors and toppings, turning a simple cookie into a work of art. The soft and chewy texture, combined with a hint of sweetness, ensures that these cookies will be loved by all who try them.
Baking these cookies is also a great way to bond with family and friends. The process of rolling out the dough and cutting out the shapes can be a fun activity, especially for kids. Once baked, the cookies can be decorated with icing, chocolate chips, or sprinkles, allowing everyone to express their creativity. Whether for a birthday, holiday, or just a fun afternoon, teddy bear cookies will make any occasion feel extra special.
To create these teddy bear cookies, you will need a few essential tools.
When making teddy bear cookies, a few tips can help you achieve the best results. Ensure your butter is softened but not melted for the perfect texture. Chill the dough for at least an hour before rolling it out to prevent spreading during baking. To decorate, use icing or melted chocolate for the eyes and nose, and add mini chocolate chips or candies for extra cute features. Always remember to check that the cookies are baked through by ensuring they are lightly golden on the edges. Food safety is crucial, so wash your hands thoroughly before starting, and keep raw ingredients away from cooked cookies. After baking, let the cookies cool completely before storing to maintain their freshness.

Store in an airtight container at room temperature for up to one week.
There are many fun variations you can try with teddy bear cookies. For a chocolate twist, substitute half of the flour with cocoa powder to create chocolate teddy bears. You can also experiment with different flavors by adding vanilla, almond extract, or even spices like cinnamon or nutmeg. For a healthier version, consider using whole wheat flour and reducing the sugar slightly. If you're feeling adventurous, try adding mix-ins like nuts or dried fruit to the dough. Each variation can give the cookies a unique taste while keeping the adorable teddy bear shape.
These teddy bear cookies are best served fresh out of the oven but can be stored in an airtight container for several days. They make a delightful addition to any dessert table or picnic. Pair them with a glass of milk or a warm cup of tea for a comforting treat. For special occasions, display them on a colorful platter and let guests admire their cuteness before indulging. They are also perfect for filling goodie bags at parties, ensuring everyone leaves with a sweet memory.
| Problem | Solution |
|---|---|
| The cookies spread too much during baking. | This can happen if the dough is too warm or if there is not enough flour. Make sure to chill the dough before rolling it out and double-check your measurements. |
| The cookies are too hard after baking. | Overbaking can lead to hard cookies. Keep an eye on them in the oven and remove them as soon as they are lightly golden. Letting them cool on the baking sheet for a few minutes before transferring to a cooling rack can also help maintain their softness. |
Can I freeze these teddy bear cookies?
Yes, you can freeze the cookies before or after baking. Just ensure they are in an airtight container.
What can I use for decorating if I don't have icing?
You can use melted chocolate, peanut butter, or even yogurt to decorate the cookies.
